If you're in need of additional storage, struggle with keeping track of your keys, or find yourself constantly picking up wet towels, wall hangers and hooks offer a practical solution.
These hooks can be easily attached to your walls, doors, and cupboards, allowing you to increase your storage space. Whether it's in your living room, bedroom, or home entryway, everything will have a designated place and be easily accessible
Check out this guide for instructions on how to properly install wall hooks in your home for simple storage and organisation.
Step 1: Check your walls
The first step in drilling into a wall is determining the type of wall you are working with. Brick walls and masonry require a special masonry drill bit, while a regular drill should suffice for plasterboard (or drywall).
This will determine the weight capacity of your hooks and the necessary installation materials. Our hooks include fixing screws and wall plugs for solid walls.
Wall plugs are inserts made of plastic that expand to firmly grip the sides of the drilled hole and provide support for the screw without causing any damage to the walls.
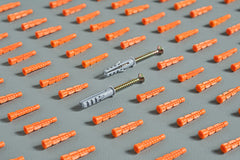
Without a wall plug, a standard screw will not securely remain in plasterboard or masonry.
When installed in solid wall, our oak hooks can hold 15-25 Kg when anchored in brick, but only around 2-4kg when anchored in plaster board (without a proper plasterboard anchor). For plasterboard/drywall, please use a quality plasterboard anchor, then your hook should hold as much weight as in brick (check the rating on your anchors!).
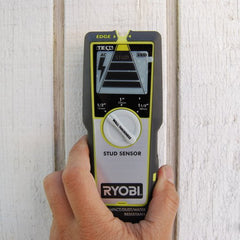
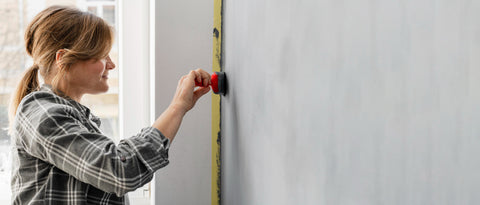
When drilling into plasterboard (drywall), it is advisable to find the stud in order to ensure a secure wall hook installation. Additionally, it is important to avoid drilling into any wires or pipes that may be present in the walls. Tools like current or metal detectors can assist in this process.
One option to locate a stud in your wall is by using a stud finder device, while another option is to gently tap on the wall. If a hollow sound is heard, it indicates that the stud has been missed. To ensure maximum security for your wall hooks, you have can fit them into the studs.
If your home has traditional features like exposed wooden beams or studs, they are typically strong enough to support most types of hooks
Step 2: Measure and Plan

To measure the space for your decorative wall hooks, use a measuring tape or a level.
If you're hanging multiple hooks, make sure they are evenly spaced.
To ensure accuracy, use a spirit level or tape measure to determine if the objects are at the same height.
After deciding where to place the hooks, either mark the wall with a pencil or use painters' tape to indicate the drilling spots.
Step 3: Pre-Drill and Add Wall Plugs

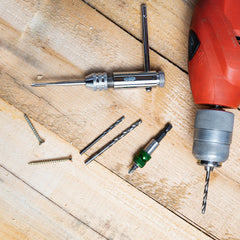
When drilling into masonry, it is necessary to use a masonry drill bit with an electric drill to pre-drill holes for wall plugs. If drilling into drywall or a stud, a regular drill bit can be used for this step.
To install the plug, ensure that you drill a hole of sufficient depth and width. Measure the length of the plug for depth.
For width, you should drill the size the plug is ie 5mm bit for a 5mm plug (we use 5mm yellow and 7mm grey plugs with our products). Afterward, insert the plug into the wall.
When drilling, ensure that the hole is deep and wide enough. If necessary, lightly tap the drill with a hammer to complete the process. Before proceeding, double-check that there is sufficient space for the plug. The wall plug facilitates easy installation of wooden hooks.
Step 4: Install the Wall Hangers or Wall Hooks
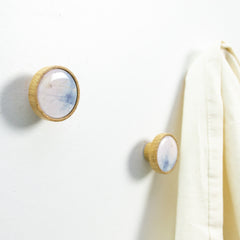
To install a hook with screw holes, start by inserting the screw through the hole and aligning it with your plug. If you are using a hook without a hole that hangs from a screw such as our round hook, you will need to partially drill in the screw
Check to make sure they're level, and do a quick strength test before hanging up anything important. Make any adjustments you need to make it more secure, then enjoy using your new hooks!
What can you hang on hooks? 10 Uses for Wall hangers
1) As coat hooks and hallway storage
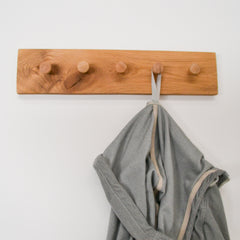
Our Oak coat hooks or coat rack can be installed near the front door or entrance hall of your home to conveniently store coats, handbags, car keys, pet leashes, and other items.
This method is particularly helpful in spaces without an entrance cupboard for coats.
Adjusting the height of some coat hooks can accommodate children.
For busy parents of school-aged children, attach a whiteboard or chalkboard to a wall at a height your child can reach. Use wood hooks to hang their backpacks, jackets, and PE kits. This way, they have no excuse for leaving things at home.
2) As Kitchen hooks
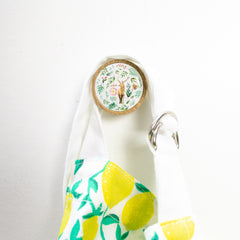
Wall hangers such as these woodland print oak hooks can be used in various areas of the kitchen, such as next to the sink for dish or hand towels, along the wall for aprons.
3) As Kitchen Storage

Wall hangers are also great for removing clutter by hanging items under cabinets and above the counters for pans, utensils, cutting boards, or oven gloves. They're also perfect to curate a collection with mugs or other kitchen décor items hooked on wall.
4) For Art Display
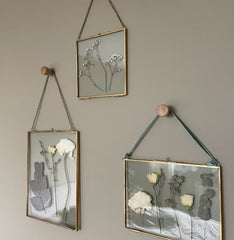
Wall hangings and magnetic poster hangers can be hung from hard wall picture hooks for a more attractive take on traditional picture hooks.
Hang a leafy plant or a beautiful landscape painting using a single oak hook. If you prefer family photographs, hang multiple frames from different hooks to create a gallery wall and intersperse with hangings for visual interest.
5) As bathroom Storage
Wall hooks are commonly used in bathrooms for hanging hand towels, dressing gowns and bathing towels, ensuring they are kept off the counter or floor. Additionally, having separate hooks on a wall hooks rack for different children can help prevent conflicts over the towel bar.
6) Wardrobe or Cabinet Hanging Hooks
Peg hooks can be used in a large closet or cupboard, or next to a wardrobe, to effectively store handbags, jewellery, ties, scarves, and other items. For optimal use of space, hanging the hooks in a vertical column is recommended.

7) As Guitar Wall Hooks
Hooked on wall fittings for holding guitars can be as simple and minimalist as a pair of peg hooks as stoppers, or purpose made hanging systems to hold a variety of instruments including Guitar, Bass, Mandolin, Banjo and Ukuleles.

8) For Mirror hanging
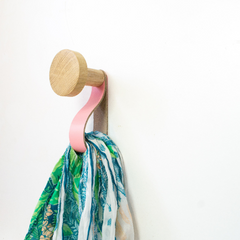
Round hooks are especially good for hanging circular mirrors, and strap mirrors to give a smart yet secure finish. Go for a round front, or and angled hook to make sure it can't slip off.
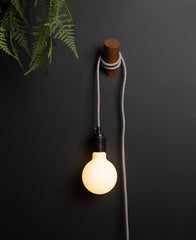
9) For hanging lights
Create a versatile and minimalist light fitting or suspension by using a wall hanger with a fabric flex cable and bulb holder. Alternatively, use them as supports to hang lanterns or string lights.
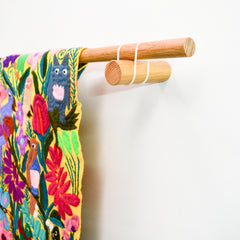
10) To Hold a rail
Our hanging rails, for toilet rolls, kitchen roll holders or for use as a towel rail use wall hooks to support a rail. A simple minimalist method to create wall storage.
How to remove wall hooks
Whether you're relocating or attempting to remove wall hooks for the second or third time, it is reassuring to know that the process is straightforward.
To remove the hook from the wall, unscrew it. If it is attached with nails, you can use either a hammer or a screwdriver to remove it.
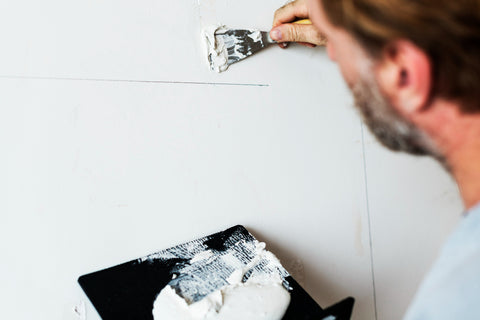
You can use multi-purpose filler, putty, or caulk to repair the hole in the wall.
After allowing the patch enough time for thorough drying, sand it with even pressure.
The objective is smoothing down the filler until it is level with the wall surface and doesn't become visible under paint.
Finally, apply a new coat of paint in the sanded area.